Importación/Exportación de Traducciones y Glosario
Importación de traducciones (gratis en todos los planes)
La importación de traducción está incluida en cada plan ConveyThis — incluido el plan gratuito. No hay tarifas por importación.
Úselo cuando cambie de Weglot, Bablic u otra herramienta y desee conservar las traducciones por las que ya ha pagado. También puede importar archivos CSV o TMX desde cualquier fuente compatible.
Paso 1 — Abra la página de importación
- Inicie sesión en su ConveyThis panel de control.
- Ir a la Dominios página.
- Abrir Gestión de traducción y seleccione CSV/TMX.
Aterrizarás en el Importar traducciones página para ese dominio.
Paso 2 — Cargar un archivo CSV o TMX
En el Importar traducciones forma:
- Elige tu Idioma fuente (el idioma original de su contenido).
- Elige tu Nuevo idioma(s) (el idioma para el que importaste traducciones).
- Haga clic Explorar… y seleccione un CSV o TMX archivo.
- Haga clic SUBIR.

Consejo: Para obtener la mejor coincidencia, deje que ConveyThis escanee primero su sitio para que sus páginas queden indexadas. Luego, las cadenas importadas se aplican al contenido coincidente en su sitio web.
Formato de archivo CSV
Un archivo CSV ConveyThis tiene dos columnas, con una traducción por fila:
- Columna 1 — texto fuente (idioma original)
- Columna 2 — texto traducido (idioma de destino)
Ejemplo:
House,Casa
Try ConveyThis,Prueba ConveyThis
Contact us,ContáctanosTambién puedes descargar una muestra CSV y TMX archivos de los enlaces en la parte inferior de la página de importación en su panel.
Importando desde Weglot
Si exportó un CSV desde Weglot, utilice el Importar Weglot Traducciones sección en la misma página. ConveyThis convierte el formato de archivo Weglot automáticamente — no requiere edición manual.
- Seleccione el Idioma fuente y Nuevo idioma(s).
- Haga clic Explorar… y elija su exportación CSV Weglot.
- Revisar el Vista previa de conversión (ConveyThis asigna columnas Weglot al formato ConveyThis).
- Haga clic CONVERTIR Y CARGAR.

La misma página de importación también acepta archivos CSV y TMX estándar de Bablic y otras herramientas de traducción — cárguelos en el Importar traducciones sección anterior.
Paso 3 — Ver pares de idiomas importados
Después de una importación exitosa, sus pares de idiomas aparecen en la tabla debajo de los formularios de carga. Cada fila muestra el idioma de origen, el idioma de destino y los enlaces para editar o eliminar ese paquete de importación.

Paso 4 — Revisar y editar cadenas importadas
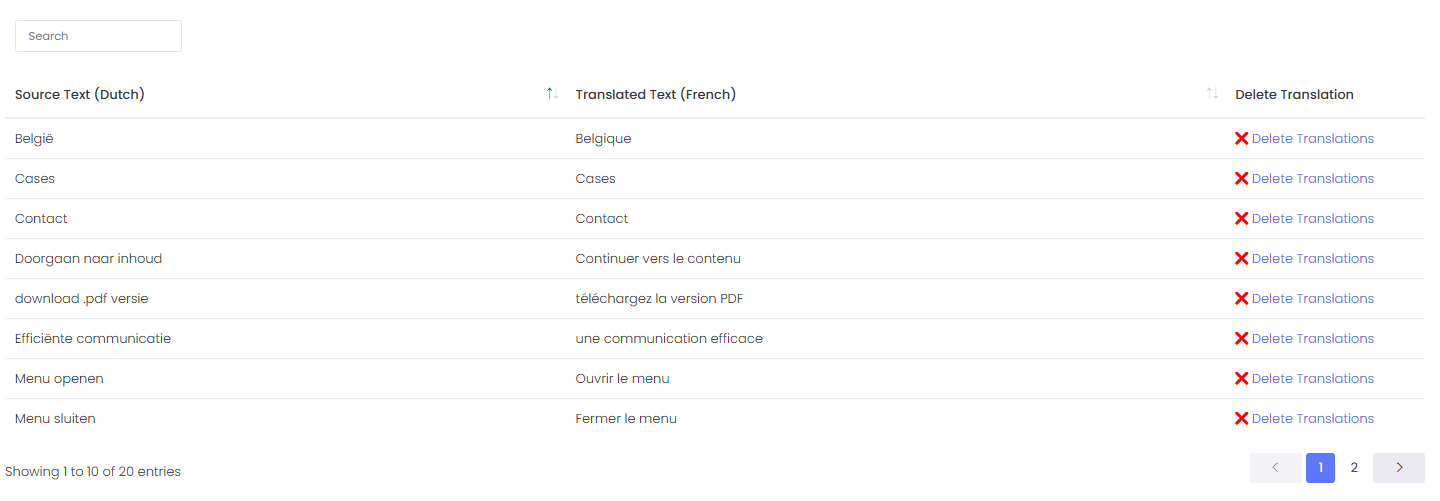
Haga clic Editar traducciones en cualquier fila para abrir la lista completa de cadenas importadas. Busque, revise y elimine entradas individuales según sea necesario antes de publicar cambios en su sitio.
Exportación de traducciones (Pro+ y superiores)
Exportar traducciones requiere un plan Pro+ o superior. Si tiene un plan inferior, actualice desde el página de precios para descargar tus traducciones.
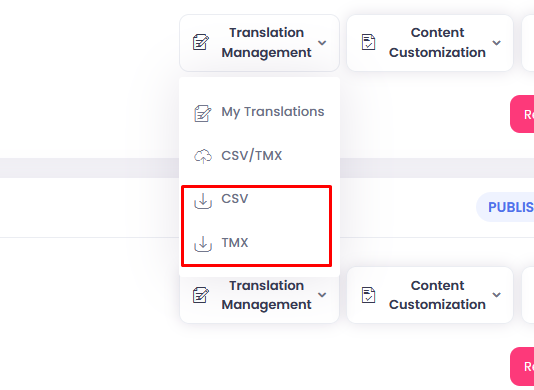
Ir a la Dominios página y haga clic en Gestión de traducción. Seleccionar CSV o TMX exportar.
Glosario de importación y exportación
Tenga en cuenta que el glosario de importación/exportación es solo para planes pagos.
Exportación de glosario
Ir a la Dominios página y haga clic en el Personalización de contenidos menú desplegable. Seleccionar Glosario.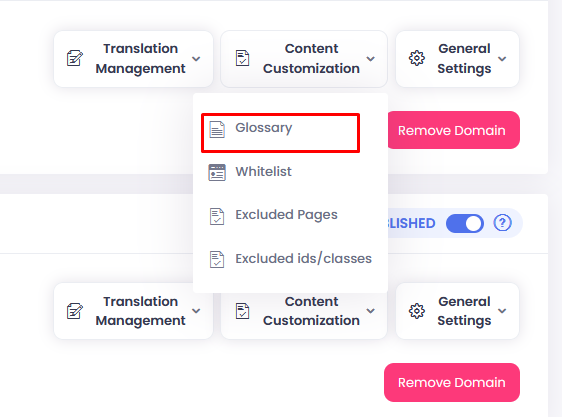
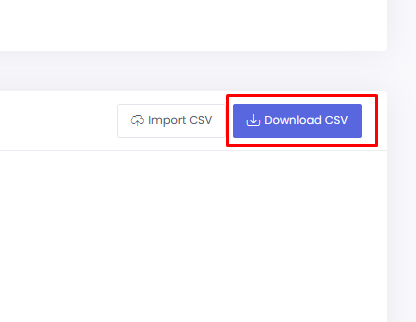
Bajo Reglas del glosario, haga clic en el azul Descargar CSV botón para exportar glosario.
Importación de glosario
Ir a la Dominios página y haga clic en el Personalización de contenidos menú desplegable. Seleccionar Glosario.
Bajo Reglas del glosario, haga clic en el Importar CSV botón para importar glosario.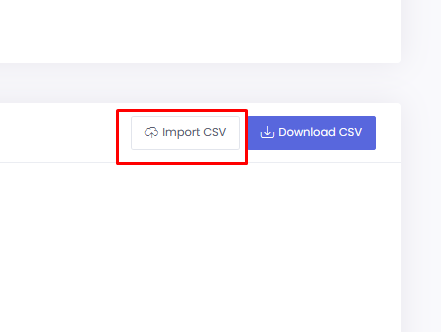
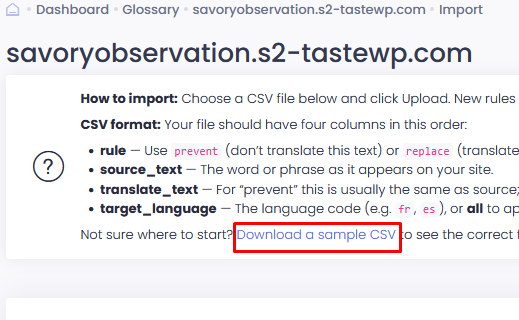
Si no está seguro del formato del archivo CSV, puede descargar una muestra.