React Localization – How to Translate Your React App
How To Translate Your React Website
The Reach app, a powerful tool for web developers, faces significant challenges when it comes to localization into multiple languages. Web developers often struggle with the complex process of translating every element of their website, from content and user interfaces to error messages and navigation menus. This task is made even more daunting by the need to maintain consistency and accuracy across languages, ensuring that the user experience remains seamless regardless of the locale. Additionally, managing the technical aspects of localization, such as encoding issues, text direction changes, and handling language-specific nuances, can be incredibly time-consuming and prone to errors. These difficulties can lead to delays, increased costs, and frustration, making the quest for a reliable and efficient localization solution all the more critical for developers.
Integrating ConveyThis into your site is fast and easy, and React is no exception. In just a few minutes you’ll learn just how to install ConveyThis to React and start giving it the multilingual functionality you need.
Step #1
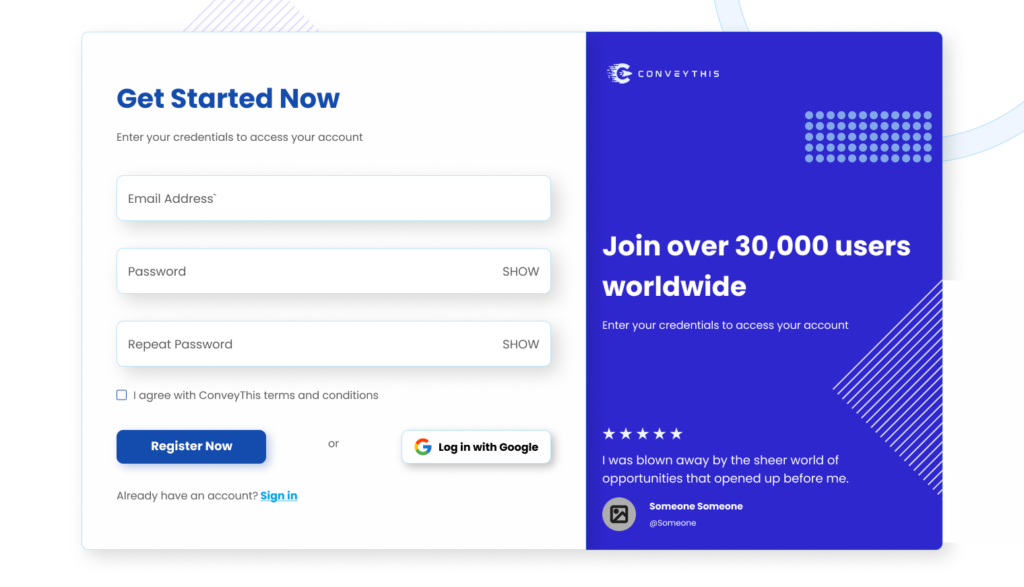
Create a ConveyThis.com account and confirm it.

Step #2
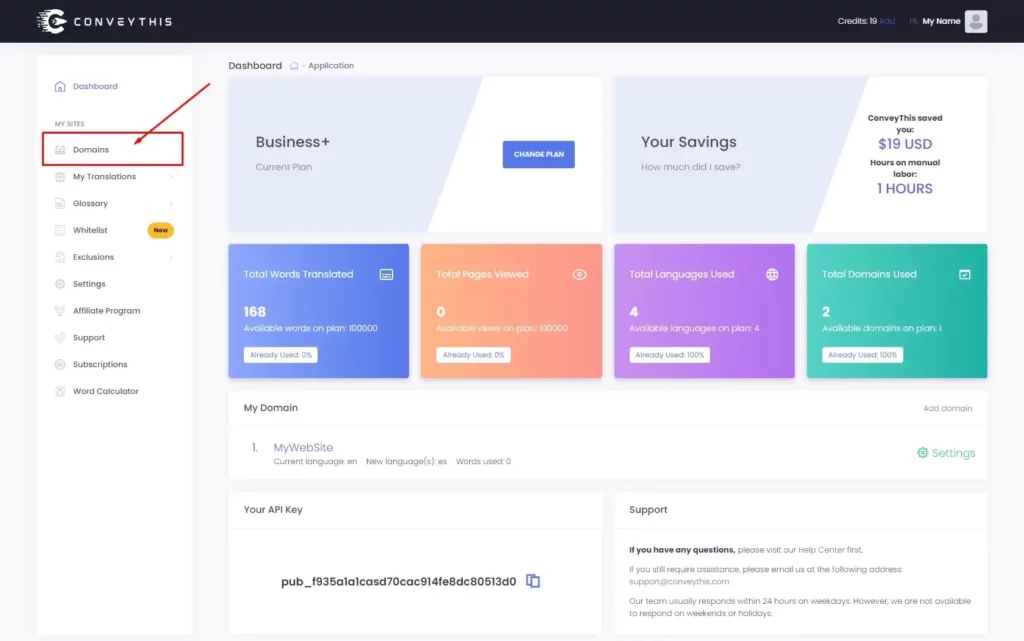
On your dashboard (you have to be logged in) navigate to “Domains” in the upper menu.
Step #3
On this page click “Add domain”.
There is no way to change domain name, so if you made a mistake with the existing domain name, simply delete it and create the new one.
Once you done, click to “Settings”.
*If you installed ConveyThis previously for WordPress/Joomla/Shopify, your domain name was already synced to the ConveyThis and will be visible on this page.
You can skip adding domain step and just click to “Settings” next to your domain.
Step #4
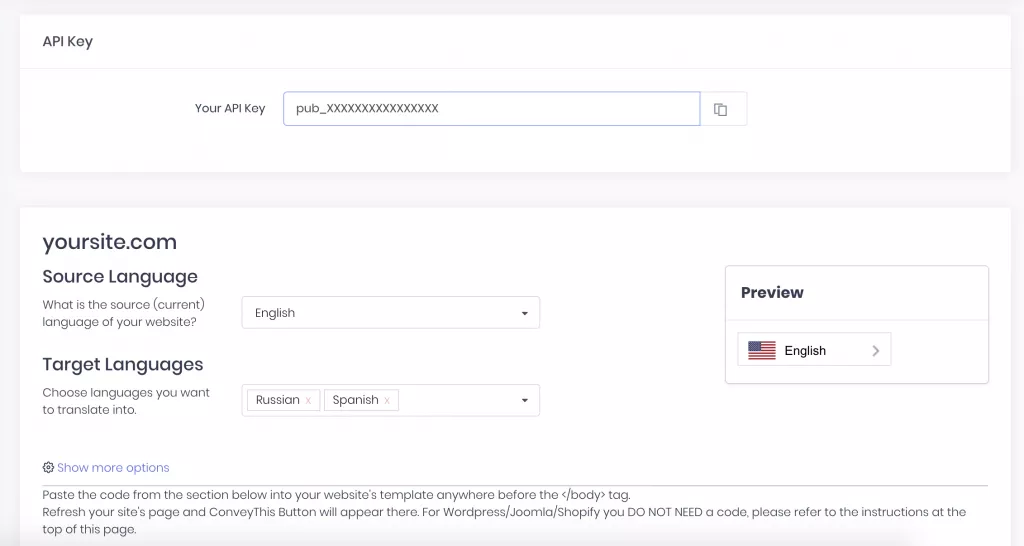
Now you are on the main configuration page.
Select source and target language(es) for your website.
Click “Save Configuration”.
Step #5
Now scroll down and copy the JavaScript code from the field below.
<!-- ConveyThis Script Start -->
<script src="//cdn.conveythis.com/javascript/conveythis.js?api_key=*****************************"></script>
<!-- ConveyThis Script End -->>
*Later on you may want to make some changes in the settings. To apply them you will need to make those changes first and then copy the updated code on this page.
*For WordPress/Joomla/Shopify you DO NOT need this code. For more information please refer to the instructions of the associated platfrom.
Step #6
Your script comes from a panel on app.conveythis.com and needs to be placed in public\index.html before </body> or </head> tag.
Step #7
СonveyThis plugin is ready to use.

